


Blind baking looks fussy from the outside and makes perfect sense once you know what it's for. You line a pie plate with dough, cover that dough with parchment and something heavy, and bake the shell empty. What comes out is a crisp, rigid crust that holds its shape, so the soft custard or no-bake cream filling landing in it later can't turn the bottom into paste. The trick is knowing when the extra step earns its keep, and how to do it without shrinking, slumping, or scorching the crimped edge.
What Blind Baking Actually Does
Two things happen in the oven when there's no filling in the way. Moisture leaves the dough, and the structure sets. The gluten firms up, the starch around it gelatinizes, and the shell turns from pliable to rigid. That's why a blind-baked crust stays upright on the plate instead of collapsing under the weight of a custard.
There's a browning benefit too. A pumpkin or chess pie bakes at a gentle 325°F to 350°F for close to an hour, and the filling sets long before the raw bottom would ever brown. Bake that same crust empty first, and you get color and crispness you'd never reach otherwise. Blind baking also gives the crust a head start on cream pies, which never see the oven again after the filling is spooned in.
When to Blind Bake, and When to Skip It
Always blind bake
- Custard pies: pumpkin, chess, buttermilk, coconut, sweet potato
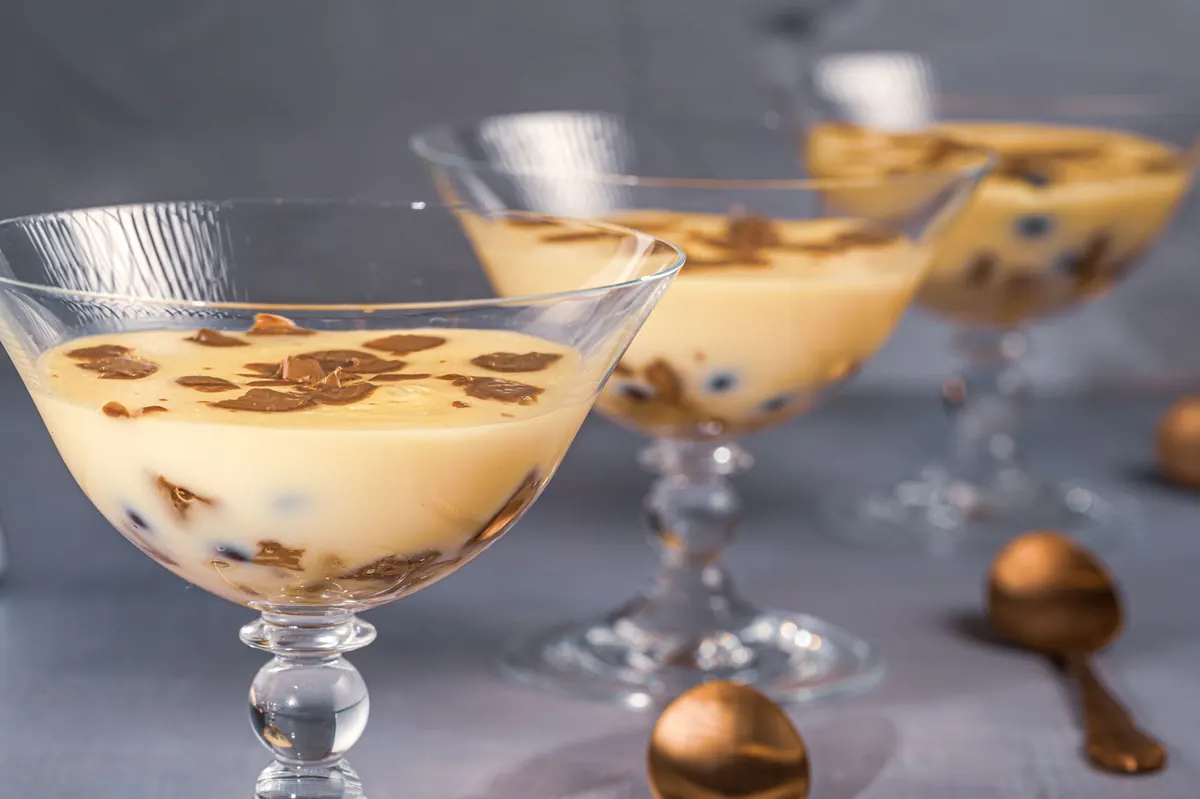
- Cold-set pies: chocolate cream, banana cream, coconut cream, lemon chiffon
- Pies topped with meringue or whipped cream and never baked again
- Tarts with liquid fillings that set in the fridge
Sometimes blind bake
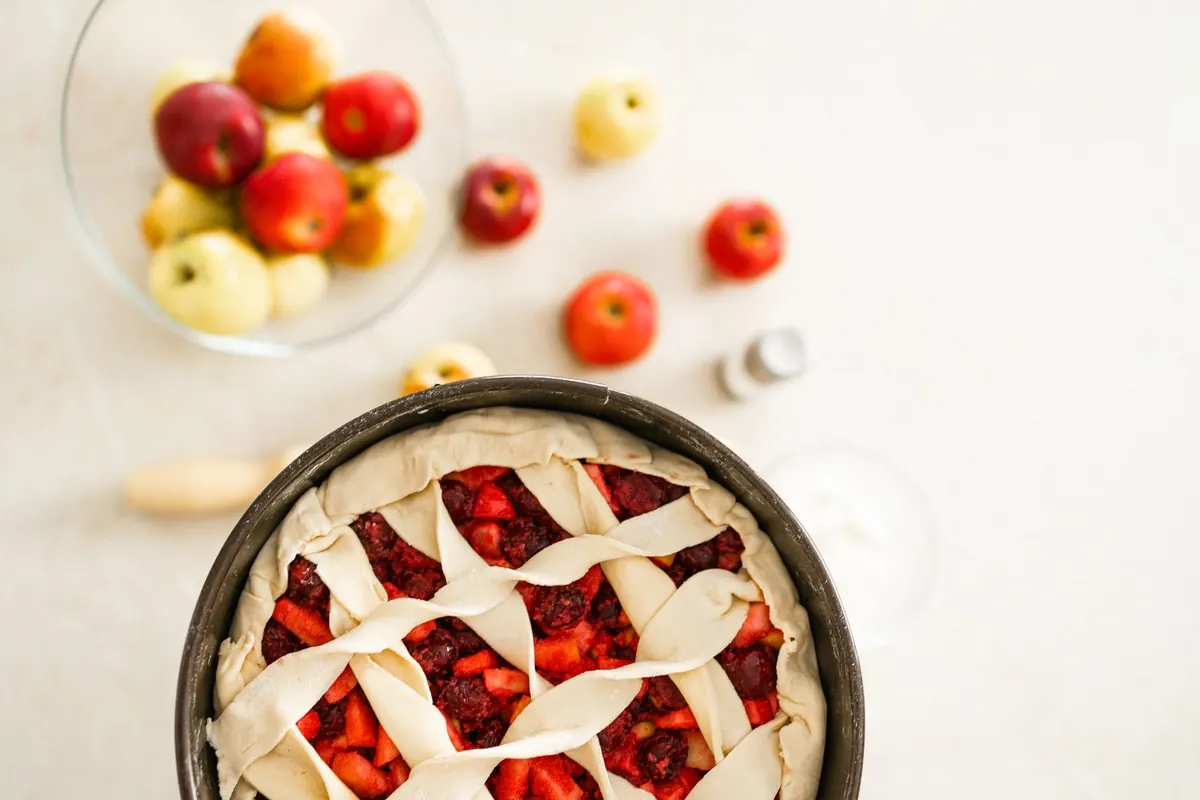
Very juicy fruit pies, like sour cherry or triple-berry, often benefit from a partial blind bake, because the filling releases so much liquid that an unbaked bottom goes gummy. Apple and other firm-fruit pies usually don't need it. They bake long enough at a high enough temperature that the crust cooks through on its own.
Skip it entirely
Double-crust pies, hand pies, galettes, and free-form tarts. Once there's a top crust, the shell steams from both sides and the timing works itself out. If a single-crust fruit pie is giving you a soggy bottom, a light dusting of crumbs, flour, or sugar over the raw dough often solves it faster than a par-bake.
Lining the Pan, Step by Step
- Roll evenly. Aim for about an eighth of an inch thick. Thin patches tear; thick ones stay pale and underdone.
- Ease, don't stretch. Lift the dough into the plate and let it settle into the corners. Dough that's pulled to fit will spring back in the oven.
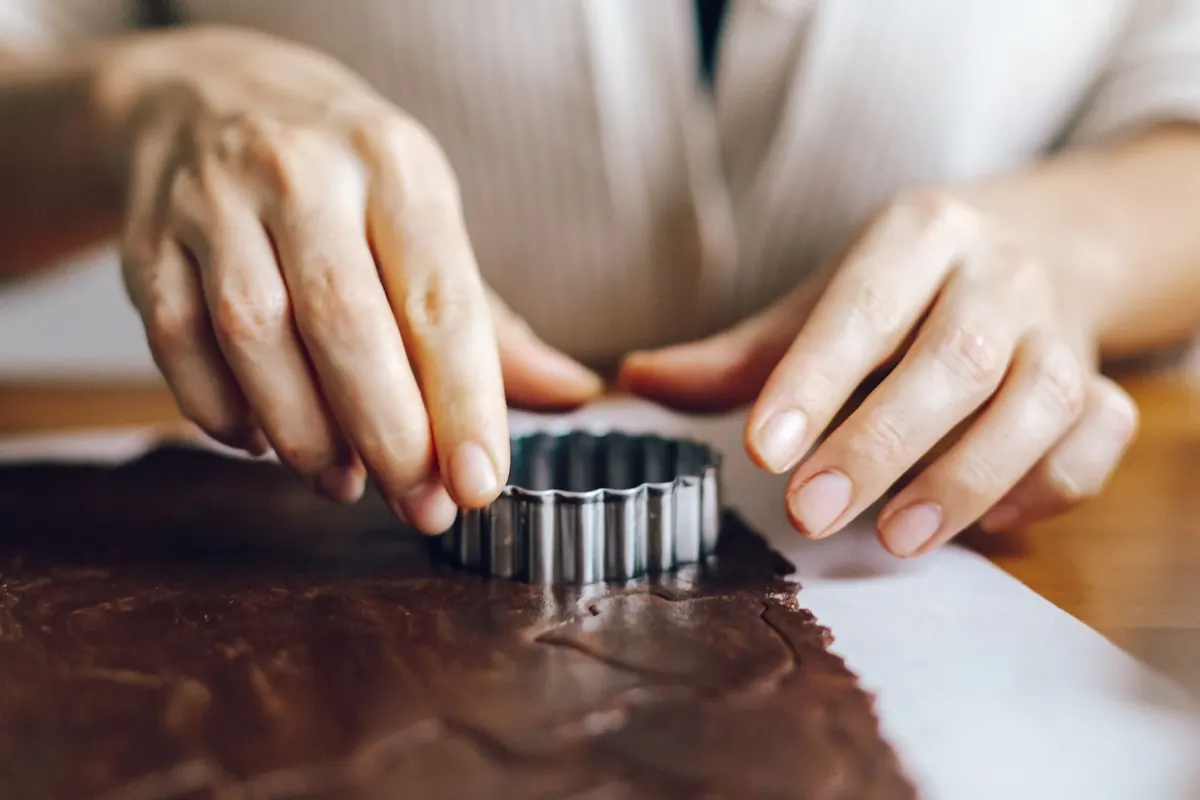
- Trim and crimp. Leave about a half inch of overhang, fold it under, and press the edge into a fluted rim.
- Dock the bottom. Prick the base and lower sides with a fork to let steam escape. For very thin custard fillings, some bakers skip deep docking and rely on an egg wash seal instead, since pinholes can become leaks.
- Chill hard. Twenty minutes in the freezer, or thirty to forty-five minutes in the fridge. Cold fat means less shrinkage.
- Line and weight. Press parchment into the corners and up the sides, then fill with weights, pushing them against the walls.
Weights: What to Use
Anything oven-safe, heavy, and small enough to fill the corners will do. Dried beans and raw rice are the classic standbys. Dedicate them to baking, not to dinner, since repeated heating dries them out. Granulated sugar works and stays reusable for baking, though it can clump and gets very hot, so handle it carefully. Ceramic or metal pie weights, a nested smaller pie pan, or a coil of aluminum foil all do the same job.
Whichever you choose, the key is coverage. Weights in the center of the shell do nothing for the walls, which are exactly what slumps and slides down.
Partial or Full: How Long and How Hot
Preheat fully, at least twenty minutes, with the rack in the lower-middle position. Most recipes land between 375°F and 425°F. Judge by color, not by the clock, because ovens vary more than recipes admit.
Par-bake (partial)
Bake with the weights in place for 15 to 20 minutes, until the edges are set and just starting to color. Lift out the lining and weights, then return the shell for 5 to 10 minutes more. This is what you want for a fruit pie that will spend another 30 to 45 minutes in the oven.
Full blind bake
Same start, longer finish. Total time usually runs 25 to 35 minutes, until the crust is an even golden brown and the bottom looks dry and opaque rather than gray or damp.
For custard and cream pies, brush the crust with a beaten egg white or a whole egg loosened with a splash of water after the weights come out, then bake 3 to 5 minutes more to set the seal. That thin protein layer is what keeps a wet filling from soaking into the crumb.
A pale, soft shell will not firm up once cold filling goes in. If it doesn't look done on its own, it isn't done.
Cool the shell on a rack for at least ten minutes before filling. If you want the crispest possible bottom, slide it out of the pan once it's cool enough to handle.
Troubleshooting the Usual Problems
- Shrunken sides: the dough was stretched during lining, or it went into the oven warm. Ease it in, then chill.
- Slumped walls: weights weren't pressed into the corners, or the parchment bridged instead of hugging the sides.
- Soggy bottom: underbaked crust, or a filling poured in while the shell was still warm.
- Cracked or torn spots: patch with a scrap of raw dough, brush with water, and return to the oven for a few minutes.
- Butter pooling in the shell: the dough got too warm. Chill it, blot the fat, and continue.
- Dark, collapsing crimps: cover the rim with a foil ring or a crust shield after the first 15 minutes.
The Two-Minute Checklist Before You Fill
Is the shell completely cool? Is the bottom evenly golden with no damp patches? Did you seal it if the filling is wet? And for a cream pie, has the filling cooled to room temperature before it meets the crust? Four quick checks, and the pie you slice tomorrow will still have a bottom crust worth eating.
Photo: Maksim Goncharenok / Pexels