



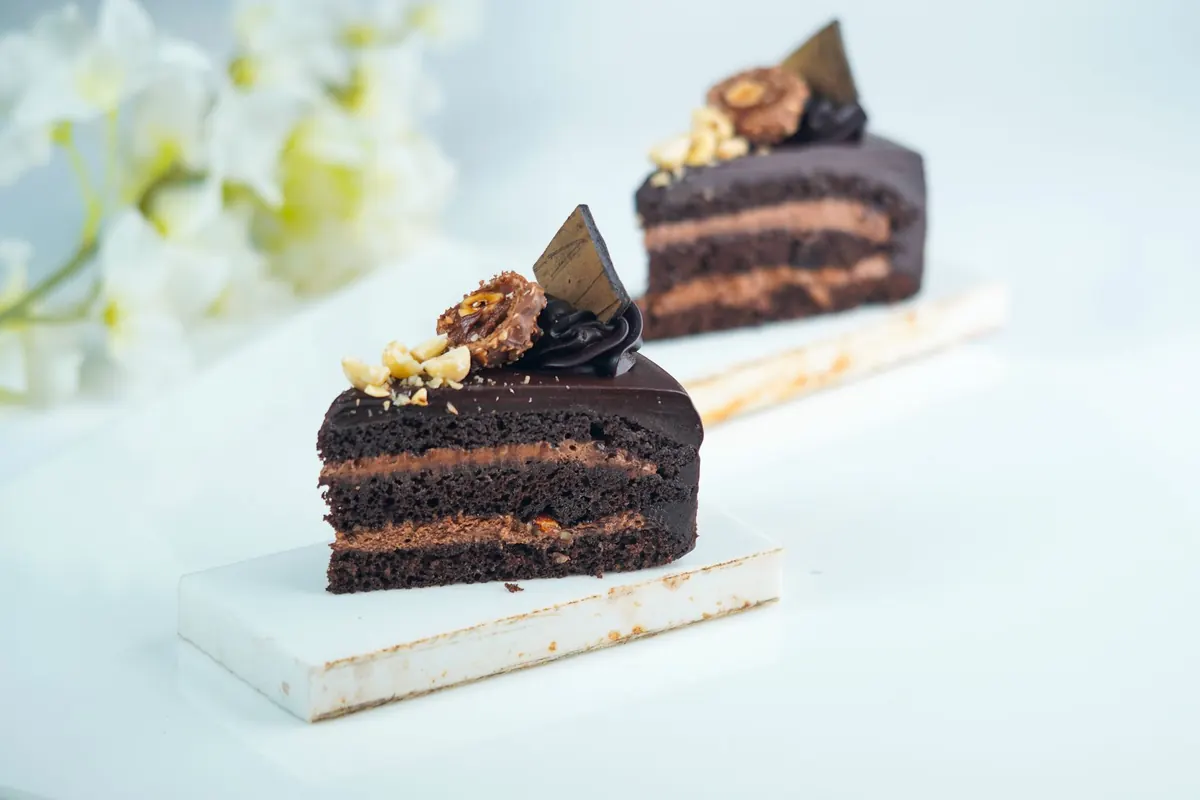
A layer cake that leans like the Tower of Pisa is not a baking failure. It is almost always a trimming and chilling problem, and both are fixable on your next bake. Even tops come from controlling how the layers set in the oven. Clean slices come from cold cake and a warm knife. Once those two ideas are in place, everything else — the ring of frosting that holds the filling in, the crumb coat, the final swirl — becomes a series of small adjustments rather than guesswork.
Here is the whole process, in order, with the details that actually matter in a home kitchen.
Bake for Flat Tops, Not Just Golden Edges
A domed cake happens because the outer ring of batter sets before the center finishes rising. Heat hits the sides of the pan first, so the edge firms up, and the still-liquid middle has nowhere to go but up. You can fight this before the cake ever reaches the oven.
Bake-even strips — long fabric bands you soak in water and wrap around the pan — slow the heat reaching the sides and give the center time to catch up. If you do not own a set, drop the oven temperature by 25°F and extend the baking time by five to ten minutes, checking early with a skewer. Light-colored aluminum pans brown more gently than dark ones. And fill pans only two-thirds full; an overfilled pan climbs and cracks.
Set the pans on the middle rack, spaced at least an inch apart, and rotate them halfway through. If your layers still come out uneven, that is fine. Trimming is part of the process, not a punishment.
Chill the Layers Before You Cut Anything
Let the cakes cool in their pans for ten minutes, then turn them out onto a rack. Waiting longer than that traps steam and softens the crust. Once they are fully cool, wrap each layer tightly in plastic wrap and refrigerate for at least an hour, ideally overnight.
Cold cake is the single biggest secret to a tidy result. A warm layer shreds under a knife, slides when you stack it, and sheds crumbs into your frosting. Cold cake cuts clean, holds its shape under the weight of the layers above it, and forgives a slightly uneven trim. If you plan to frost the same day, give the layers an hour in the fridge and bring your frosting to room temperature so it spreads without dragging.
Level the Tops with a Serrated Knife
You need a long serrated knife, a turntable or a steady plate, and two toothpicks. That is the whole tool kit.
- Set the cooled layer on the turntable. Rest one palm lightly on top to keep it from spinning.
- Poke a toothpick into the side of the cake at the height of the lowest rim, then a second one on the opposite side. These are your guide rails.
- Lay the blade across the toothpicks so the knife sits perfectly level, then saw gently with light pressure while turning the turntable. Let the serrations cut; pressing down guarantees a wavy top.
- Repeat with the remaining layers. Trim only what you need — usually a quarter inch is plenty.
- Save the scraps. Wrapped and frozen, they become trifle, cake pops, or a cook's reward with coffee.
A trick for a small dome: while the cake is still warm and in the pan, lay a clean kitchen towel over the top and press down gently with a flat hand. The cake will settle flat as it cools. This works best for sturdy butter cakes, less so for delicate sponges.
Build the Stack with a Filling Dam
Place your bottom layer cut side up. Fresh crumb grips frosting better than a smooth baked surface, and the flat side gives you an honest starting point.
Spoon frosting into a piping bag fitted with a plain round tip and pipe a ring around the outer edge of the layer, about half an inch in from the border. That ring is your dam. Inside it, spread jam, curd, chantilly, or a softer frosting — this is where wet fillings live, safely contained. Keep the total filling layer between a quarter and half an inch. More than that and the cake will slide.
Set the next layer on top and press down with a flat palm, then check the level with your eye at counter height. Correct a lean by nudging the layer sideways, not by squashing one side. When the stack is complete, wrap the whole thing in plastic and chill for thirty minutes before the crumb coat. A thin coat of frosting now, chilled, traps loose crumbs so your final coat stays clean.
Keep the Tower Straight
Tall cakes need help. Anything over three layers benefits from two or three wooden dowels or thick straws pushed straight down through the stack, cut flush with the top, with a cardboard round beneath them if the cake will travel.
Chill between every stage. Frosting firms as it cools, and a cold cake holds the geometry you built. If a layer starts creeping, stop, wrap, and refrigerate for twenty minutes rather than chasing it with a spatula.
Slice It Clean
Warm cake tastes best, but cold cake cuts best — so chill the finished cake for one to two hours, or overnight, and then let it stand at room temperature for about ten minutes before serving. You get clean edges and soft, flavorful crumb.
- Use a long, thin-bladed knife. Run it under hot water, then dry it completely; a wet blade smears.
- Cut straight down in a gentle sawing motion, using the full length of the blade rather than pressing the tip through.
- Wipe the blade and re-warm it between every single slice. This is the difference between tidy wedges and a crumbled mess.
- Slide the knife or a thin spatula under each slice to lift it, instead of levering it out from the top.
- For very soft cakes, unflavored dental floss works beautifully: wrap it around the cake, cross the ends, and pull through.
Quick fixes for common problems
- Layers sliding apart: the filling was too thick or the cake was still warm. Chill and rebuild with less filling.
- Filling pushing out the sides: the dam was too thin or the ring sat too close to the edge.
- Ragged slices: the cake was not cold enough, or the knife was not wiped between cuts.
- A cracked, peaked top: the oven ran hot or the pan sat too close to the top element.
Make It a Day Ahead
The calmest way to produce a neat layer cake is to spread the work out. Bake and trim on one evening, chill overnight, fill and crumb coat the next morning, then finish and slice in the afternoon. Nothing about that schedule is fussy — it simply lets cold cake do the structural work for you.
Perfection is not the goal. A cake with a slightly thicker bottom layer and a filling that leans toward the raspberry is still a very good cake. Aim for flat, cold, and level, and the neat, even slices will follow on their own.
Photo: Nishant Sharma / Pexels